DM WebSoft LLP exceeded our expectations! Their seasoned team of experts delivered a website that perfectly captures our brand essence. Their 15+ years of experience truly shine through in their exceptional web development skills.
DIY Tech Projects: Building Your Own Computer from Scratch
TABLE OF CONTENT
Get in Touch
Introduction
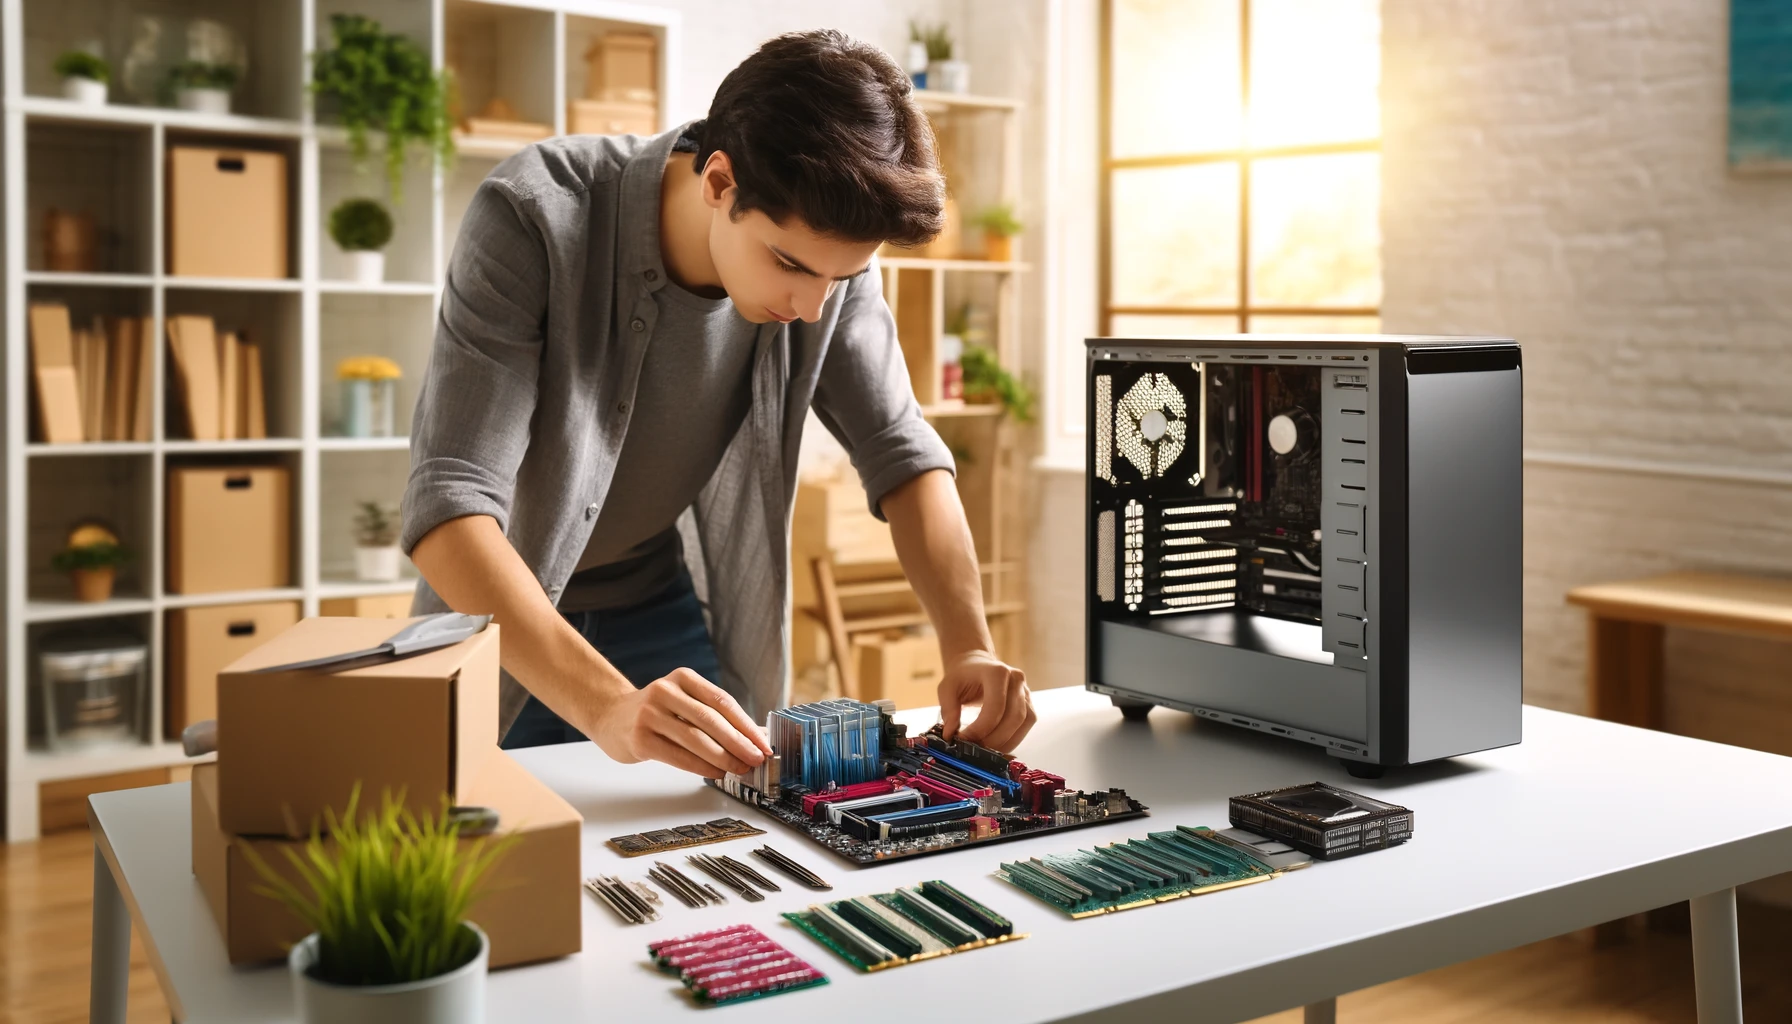
Very few technology projects feel as rewarding and fulfilling as building your computer. You generally save much broader in cost, and you get to have all aspects of it precisely as you want. From a passionate gamer who strives to achieve the best in performance, an ambitious designer who will settle for nothing less than solid graphics capacity, or just another technology enthusiast willing to learn how to do it, beginning from the base is an invaluable adventure.
It sounds like quite a daunting task at first: building a personal computer for oneself. But it’s doable with proper instructions and all the necessary tools. This complete orientation, from selecting your components down to troubleshooting common problems that you may face, should culminate in producing a fully working custom PC. At the end of our lesson, you will also know what makes a working computer.
Advantages of Building Your Computer Yourself
Probably the best advantage of building your computer on your own is the revolving around cost. Oh, cost, glorious cost. When you take in the component and invest in it, no more prices for already marked-up services are charged, and the whole budget you invested goes into the most worthwhile and the most needed parts for you individually. It is very usable for people with high-end gaming or professional-grade graphic design, where the configurations can be custom-made so that the difference in performance results in a huge order.
Again, the customization that can be done to the PC is a significant pro. Building a personal PC would mean having all the significant controls over the case and going up to the cooling system, the CPU, GPU, and RAM. It’s only fair for your computer to work—since you are holding it back in anything: gaming, work, or daily stuff.
The educational values of building at least one computer are likely hard to overestimate. Building a computer from the ground up is essential to enhance your understanding of how several components work with one another, helps improve your problem-solving skills, and allows you to do future upgrades and repairs on your own with complete confidence.
At DM WebSoft LLP, we understand that constructing one’s computer might sometimes appear scary. We are there to offer a hand, consultations, and advanced services in the field of our experts and to guide you through the whole way. Get in touch with us today to learn more about how we can be helpful to you in realizing your tech goals.
Savings in Cost
Without any doubt, potential cost savings are what a majority of people have in their minds while building their computers. The fact that you now harvest every component separately, thus avoiding the built-in markup they come with, as seen in pre-assembled PCs, directly compensates for the cost of investing in beefier components like powerful CPUs, GPUs, or more RAM (Windows Central). On top of all of those savings, you are free to shop around for deals and discounts, which could save even more.
Customizability
Another big pro is customizability; one can have his system tailor-made to their needs when constructing one’s PC. Be it an awesome gaming rig, a video editing powerhouse, or just a really good one for homework; every component in such a system will be individually selected for optimum performance and utility. The available level of personalization gets you the perfect computer: not only the best performance but with the appearance and the feeling of being yours. The gaming enthusiasts will be using the best graphic cards available to humanity, maybe even something like the NVIDIA RTX 3070. At the same time, designers will obtain the powerhouse CPUs, most likely the AMD Ryzen 9. You could also choose the casing, cooling, and storage requirements to safeguard both the appearance and performance you desire.
A Learning Experience
As has been said, building a computer is not really about the product; it is about the process. Building a PC will increase one’s knowledge of the functions of the parts and how they relate—both individually and to each other. Hands-on experience is worth a hundred lectures at the university, providing one with practical knowledge that may be used at any time during future upgrades and troubleshooting (Windows Central). It is a fantastic way to boost one’s confidence in their tech skills.
We believe that investment in a build-your-own computer pays off, with our support team every step of the way. From expert advice through troubleshooting and a lot more advanced services, DM WebSoft assures that your build goes well the first time or with experience.
Critical Components Required to Build Your PC
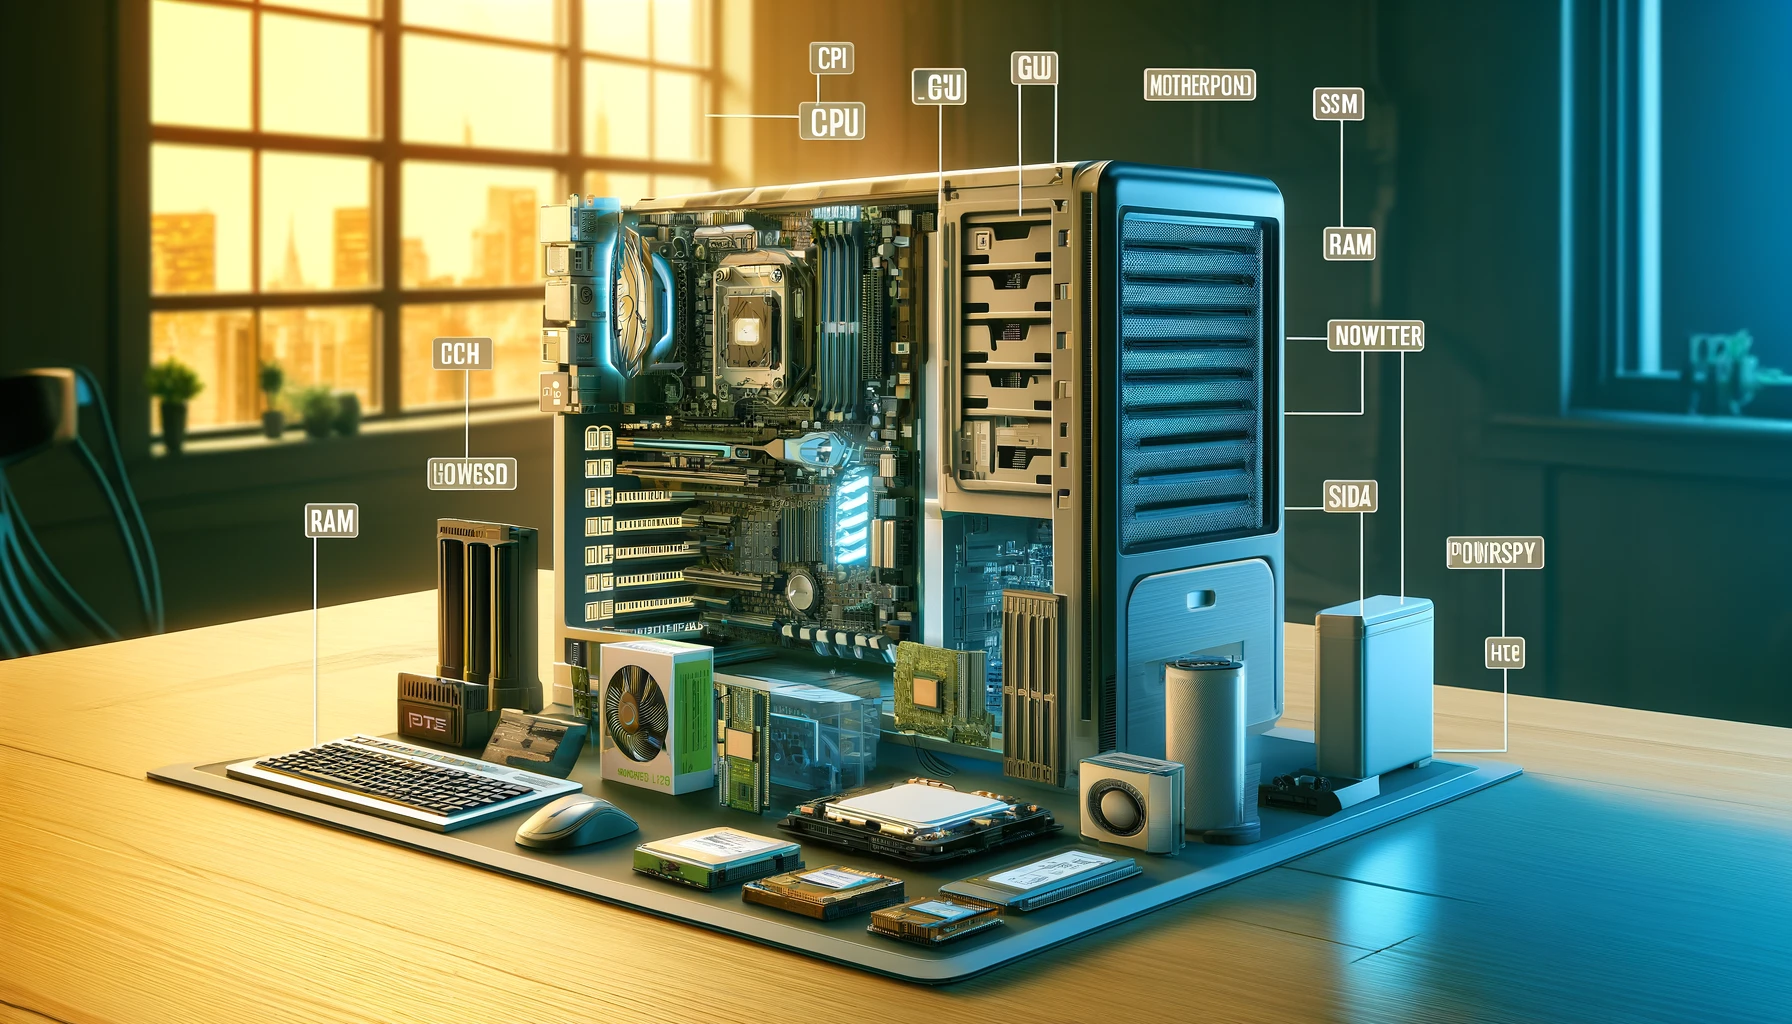
After the decision to start building your computer, it might be necessary to define what components could be considered essential. Your personal computer should function as a well-oiled machine in use and performance. In the following sections, we shall discuss some of the most critical parts required in building a computer. We will also share some advice on finding the best parts to serve your needs.
Processor
The central processing unit is the main heart of any computer, which processes instructions from the software. For instance, Intel manufactures the Core i7 and i9 series, while AMD manufactures the Ryzen series, specifically those of Ryzen 5 and 7. When choosing the processor, core count, clock speed, and compatibility with the motherboard are among the considerations that need to be made.
GPU
Graphics Processing Unit, used for image, video, and animation rendering. Important for gamers and designers. Some of the best include NVIDIA’s RTX and AMD’s Radeon RX series. The better the GPU, the better it performs and the smoother the graphical tasks and gaming.
Motherboard
Circuit board having necessary sockets of a computer. It is the housing for the CPU, RAM, and other essentials and gives a communication path between these components. Make sure that the CPU you choose is compatible with the motherboard and has a path for upgradation. The most common form factor types are the ATX, Micro-ATX, and Mini-ITX.
RAM – Random Access Memory
Random access memory is the main memory for any computer used for multitasking. This one stores all the data that the CPU may want to access at any point in time, but the data is stored just for a small period. For most, 16GB of RAM is just the right amount; gamers or professionals would see 32GB and beyond. Just make sure you buy RAM that fits into your motherboard and is adequately fast for the operations.
Storage Options: SSD (Solid State Drives)/HDD (Hard Disk Drives)
The first point is that SSDs are the future. Solid State Drives are way more reliable and are zooming ahead of HDDs in speed, so by all means, this is to be your OS drive or a disk for all your essential software. They have enormous storage capacities and are way cheaper. They are mostly recommended for file storage and backups. A combination of both is okay in most cases. It will take care of a balance between the two.
Power Supply Unit (PSU)
This is what powers all components. One has to be very considerate in choosing the right type of PSU that will attend to the watts expected to be powered by the build, considering that they might do an upgrade later. Find your power supply with higher efficiency ratings, such as 80 PLUS Bronze, Silver, Gold, or Platinum. To be sure of good performance and also to save on energy, look for these.
Cases
The case will house all your components, so it significantly affects both cooling and aesthetics. There are several sizes and styles, so pick one according to your motherboard and good airflow. Some other things you might want to look for in a case upfront are front-panel USB ports, cable management options, and room for cooling solutions.
But we realize that for most people, choosing the best components is the hardest part. At DM WebSoft LLP, we have a highly trained team that will assist you in making the right pick based on your need, whether a fully loaded gaming powerhouse or a reliable workstation.
Assembly
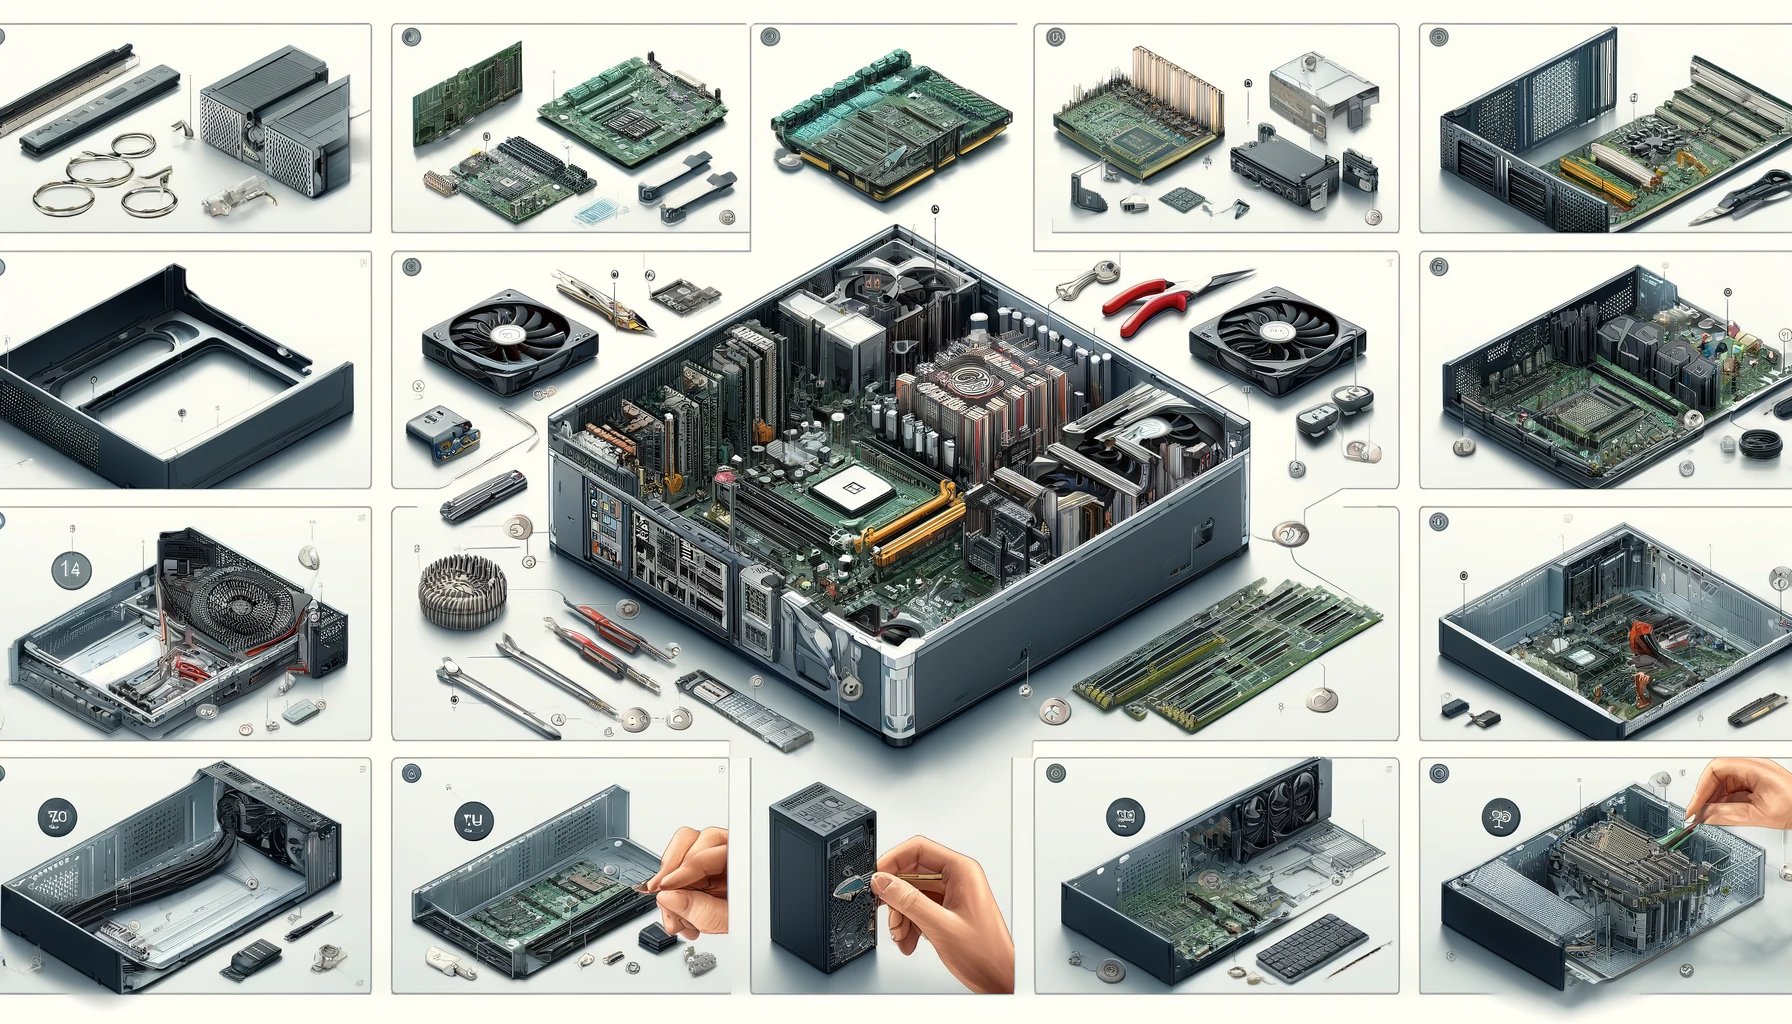
This guide will take you through that process step by step, from blank parts to a fully assembled and working computer.
Preparing to Build
Before beginning on your own custom PC build, it can be helpful to ensure that you have prepared both your components and any tools you may need. This will be a screwdriver, an anti-static wrist strap, and all the hardware—for example, CPU, GPU, motherboard, RAM, SSD, HDD, PSU, case. It’s clean it has a lit workspace, and is free from any static; this will prevent causing damage to any of the components.
Installing CPU
- Open the CPU Socket: Locate the CPU socket on the motherboard, then gently raise the lever to open it.
- Install CPU: Slide the CPU in the socket in only one orientation. It does not fit any other. Gently lot the CPU into the socket, never force while doing that.
- Lock CPU: Lower the lever to lock it into its position.
- Installing RAM: Open the RAM slots and the clips at the end to open the position.
- RAM Installation: Line up a notch on RAM module with a slot on the motherboard. Push the RAM into the slot until the clips snap back into place.
Install the Motherboard
- Install the Standoffs: Mount the standoffs in the case where the motherboard will be mounted.
- Position the Motherboard: In this case, position the motherboard to the standoffs and the IO plate.
- Motherboard Mount: Put the motherboard on standoffs with screws.
PSU Mounting Location
- Place the PSU: Install the PSU. It will fit in a well in the back of the case.
- Mount the PSU: Fasten the PSU in place on the case with screws. The fan should be directed in the direction for the best airflow.
- Power Connections: Connect the 24-pin ATX power cable to the motherboard. Connect the CPU power cable to the CPU power connector on the motherboard.
Install Storage Devices
Install the SSD/HDD in the bays. Use screws to secure them. Connect the SATA cables to the SSD and HDD. Connect the power cables from the PSU to the drives.
Mount the GPU
- Attach the GPU: Fasten the GPU onto the top PCIe motherboard slot with screws until it snaps into place. Use screws to secure the GPU onto the case. Hook all the PSU power connectors into the GPU.
- Wiring Up the Front Panel Headers: Hook up all front panel connections – PWR_SW, RST_SW, LEDs, etc. to the motherboard.
- Other Hardware Connectors: Insert other connectors, such as USB cables and connectors for audio fans, into the motherboard.
Final Hardware Connections Testing
Check that each connection has been fixed in position.
Powering ON: Power on the system and prepare to connect the power supply with the wall socket and switch on the system. Boot into BIOS and verify that all the connected devices are found and working correctly.
We are well aware that building a computer can indeed be tough work. Still, DM WebSoft LLP does not shy away from making advanced advice, troubleshooting importance, and the best services available in your hands. Whether you are building your first PC or are an experienced tech enthusiast, DM WebSoft LLP will come to your service to assure you that a perfect PC has been built for you.
Comparison of Cost and Performance: DIY vs. Pre-built
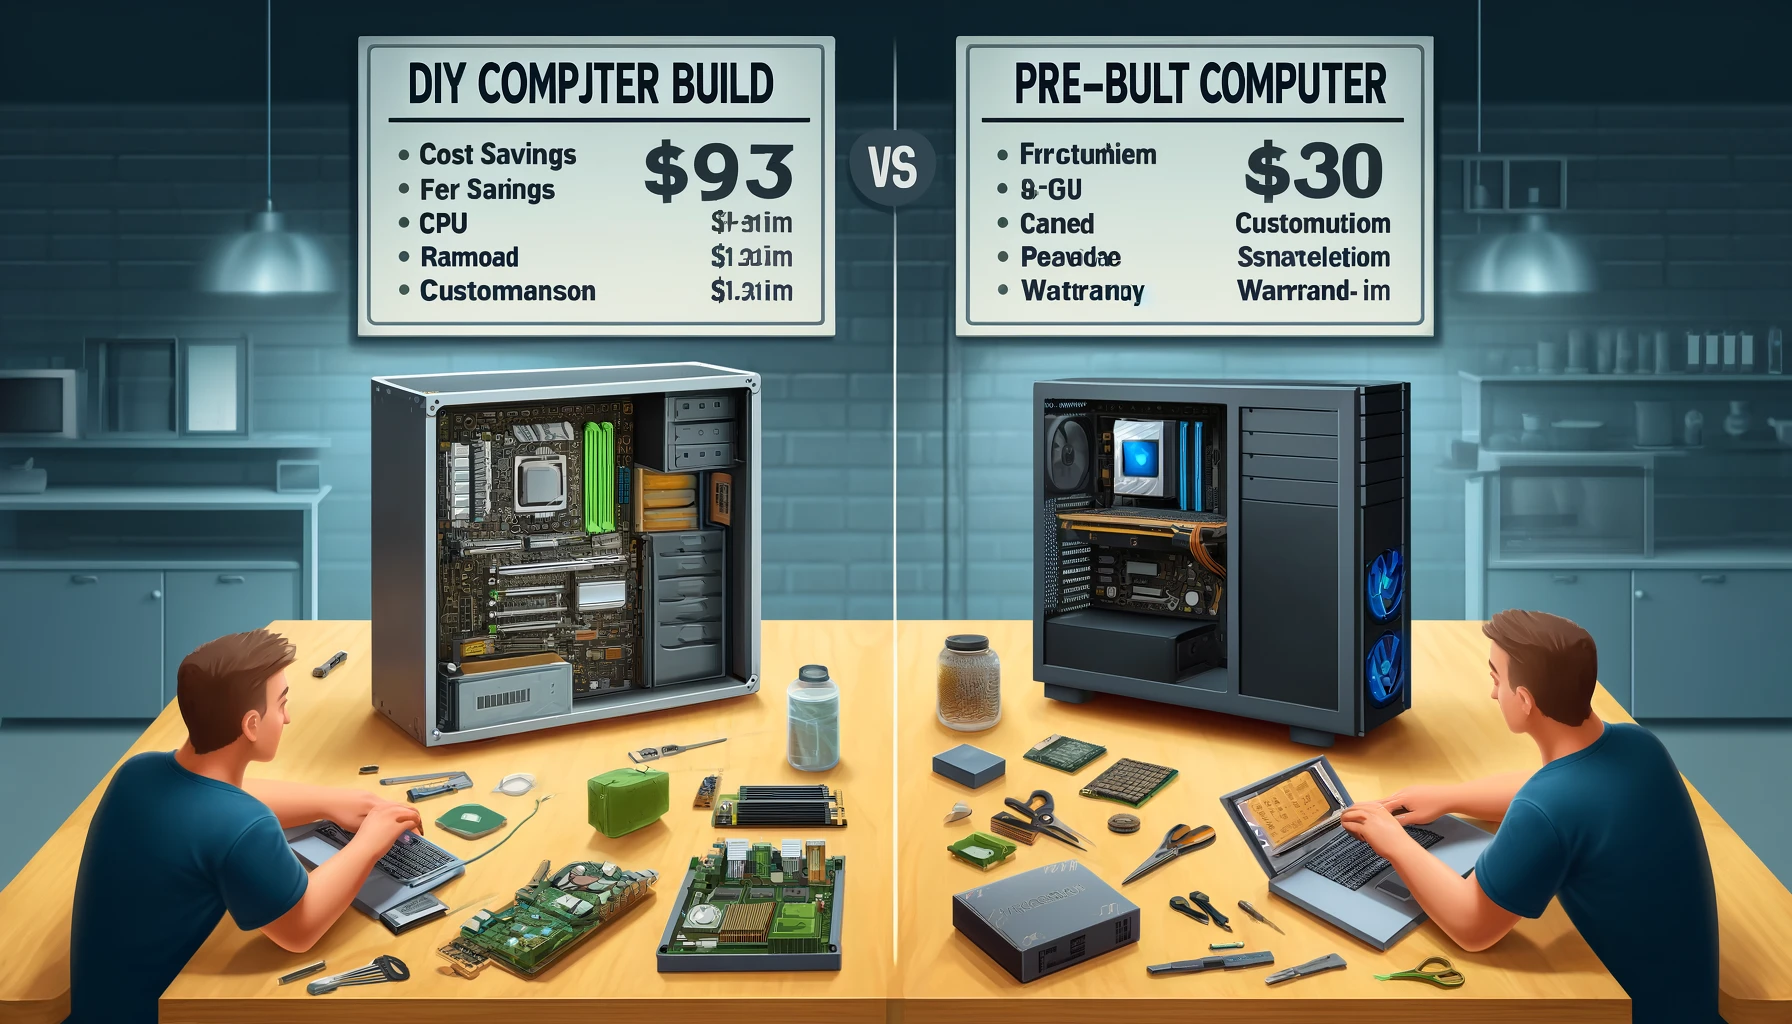
One of the most imperative considerations that can be taken into contemplation when someone plans to go for a DIY project in concern of buying a computer or choosing one available in the market is the cost and that against performance. No doubt, both directions may have their positives and negatives, and in the long run, this might just be a spur-of-the-moment decision made by a mixture of your personal needs and wants.
Cost Analysis
- DIY Computer Build: It is most often seen that building your computer will permanently save you much money. Selecting and buying individual parts eliminates all the markups that come with heavily pre-built PCs, and the saved money can be utilized to buy more quality hardware that ensures better performance. Deals and discounts for individual parts can further reduce the total fare.
- Buying a Pre-built System: A pre-built computer system always has a list of Assembly and Convenience premiums. Of course, this will save time and effort on your part, but it also means that you’re likely going to shell out more money than what a custom-built PC would give you. More often, this is one of the big pluses of pre-built PCs: you get warranties and customer support, which could be a significant consideration for the user.
Performance
- DIY Computer Build: One of the big pluses of building your computer is the ability to select components that best fit your particular needs. This allows users to customize their system to be at its best in activities like gaming, graphic design, and video editing, among others. You can dial up a beastly CPU, such as the AMD Ryzen 9, or go with an advanced NVIDIA RTX 3080 GPU to ensure your system is running at its peak.
- Pre-built Computers: Pre-built systems are designed to satisfy balanced performance requirements. However, what they commonly bundle might not be the best-of-the-line and would not cater to the specific needs that one requires. Moreover, there may be bloatware already pre-installed, which is unnecessary software that could undercut efficiency in the computer system. They are convenient but do not provide the same level of customization and optimization as a DIY build.
Long-Term Value
- DIY Computer Build: The long-term value of a self-built computer is that each part is replaceable and upgradable. While the technology did advance quickly, those old parts can be replaced over time with new, powerful, and advanced ones without buying a whole new system. This is where flexibility comes in; your PC still rocks in terms of performance for years.
- Pre-built Computers: Upgrading will be a tough job for pre-built systems again due to the proprietary components that can’t have such compatibility. Most likely, it would not even allow room to scale in the case of pre-built systems, and indeed not in terms of hardware updates. Although it may be a good solution for the short term, long-term value may be lower relative to a custom-built solution.
Most importantly, at DM WebSoft LLP, we have first-hand experience with DIY and pre-built systems. Our team members are experts in giving an overview, weighing both the plus and minus sides of a situation, and paying regard to the needs and the customer’s budget. The decision will be in the hands of the customer whether he will build his computer or buy an already-made one. We stand by our support and service to ensure you get excellent performance and value.
Tips and Common Problems
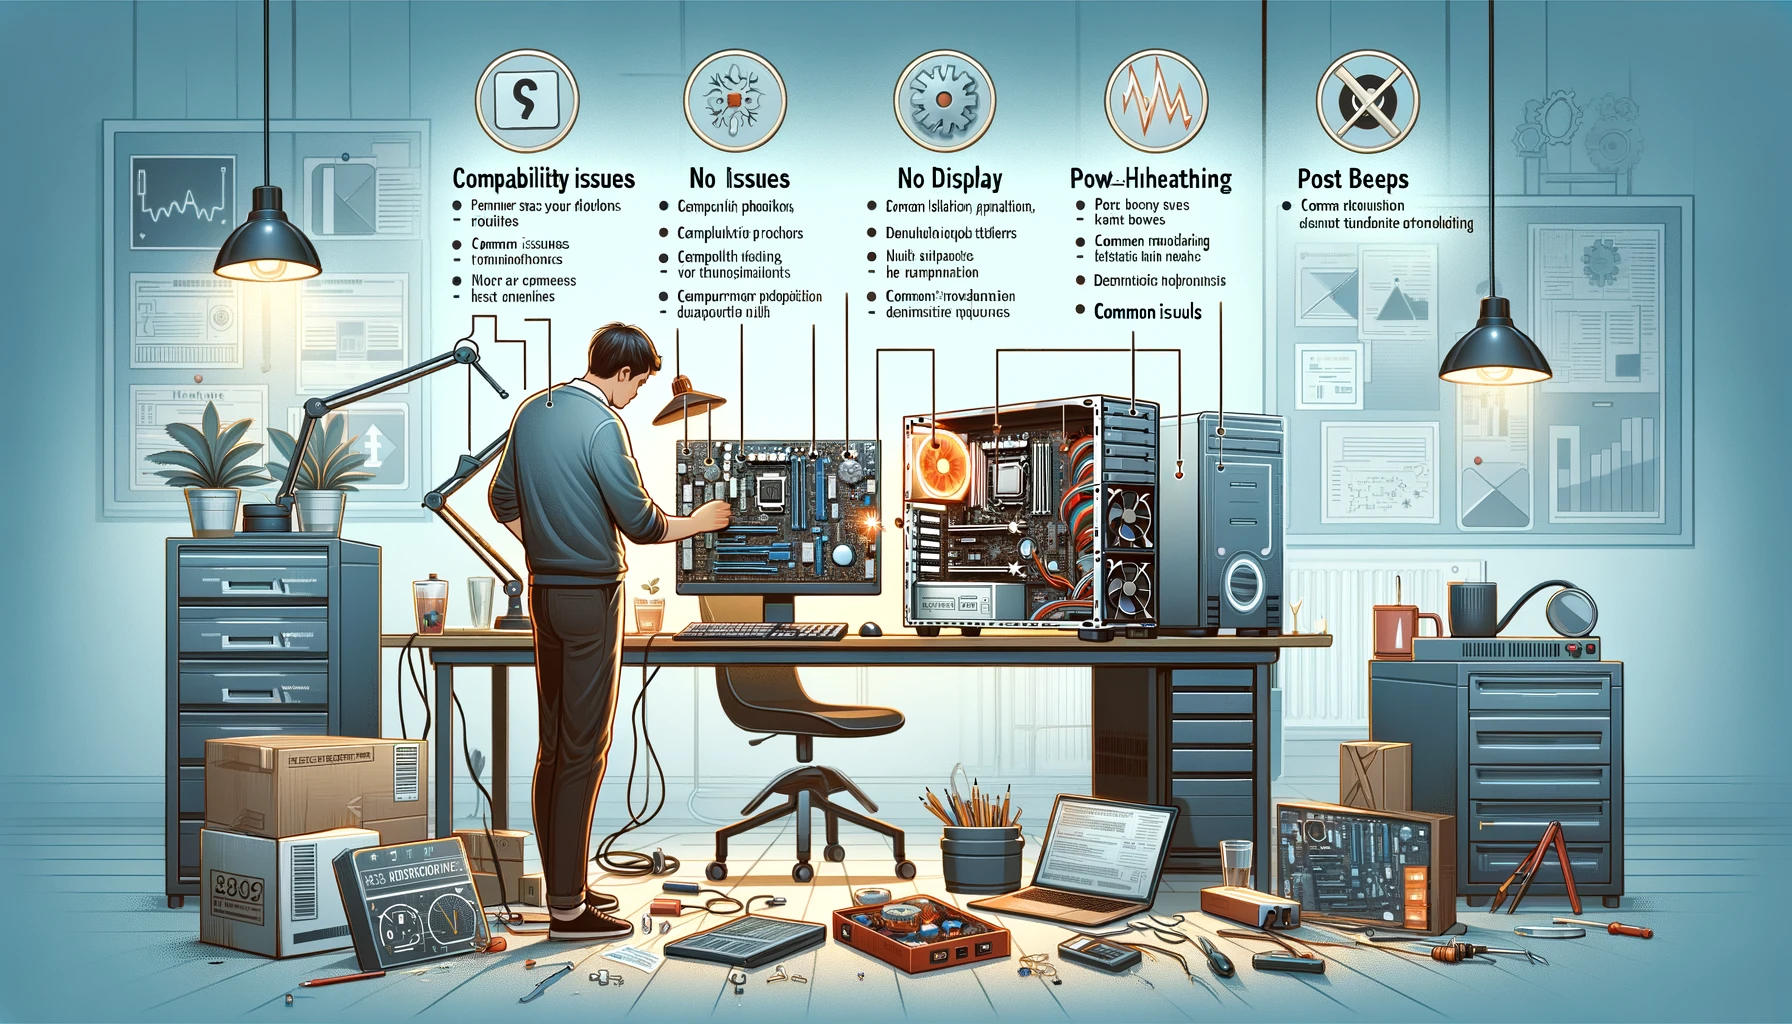
Building your computer is an excellent and rewarding experience, but some common problems might litter this process. Understanding them and knowing how to fix the issues will ensure your DIY build is successful. In this article, we are going to mention some of the common problems you can face and the practical solutions that you will be able to use to counter them.
Compatibility Issues
You will experience compatibility issues while building your computer. You have to ensure that everything you attach will be compatible with at least one other component. For example, you will want to make sure a CPU will fit into a socket in a motherboard, to ensure that the motherboard supports the RAM, or that the PSU will be powerful enough for all components.
Solution:
- Research: Use tools like PCPartPicker for compatibility information.
- Manufacturer’s Specifications: Check the list for compatibility in both the motherboard’s manual and the manufacturer’s website.
- Power Problems: This is one of the power problems that could occur: your computer doesn’t want to boot up and keeps shutting down by itself. This can be caused by an underperforming PSU, loose connections, or faulty cables.
- Recheck Connections: Inspect whether all power connections are in place on the motherboard, GPU, and all other peripherals.
- Verify PSU Wattage: Ensure that the wattage for the PSU is good enough to run all the components. The approximate wattage should be calculated with the help of a PSU calculator.
- No Display on Monitor: If the monitor displays a no-signal message, it could be because of improper GPU installation, loose cables, or BIOS settings.
- Install GPU in PCIe Slot: Check that the installed GPU is securely seated in the PCIe slot, along with the power cables to the card.
- Cables: Ensure the monitor is actually connected to the correct output of the GPU and the wires are well secured.
- BIOS: Check in the BIOS if the system can see the GPU. If not, check for a BIOS update.
- Overheating: This can lead to system instability and other component damage. In most cases, it is caused by not having proper coolers or airflow and by having an incorrectly installed CPU cooler.
- Add Extra Case Fans: Higher CFM case fans increase airflow.
- Reapply Thermal Paste: Pull away the CPU cooler and reapply the correct amount of thermal paste.
- Cable Management: Organize the cables efficiently to ensure good airflow inside the case.
- POST Beeps: If a series of beeps takes place during POST, it means there’s hardware trouble in the system. Several problems are indicated within the beep combination: trouble with the memory, GPU, and so on.
- Check the Motherboard Manual for Beep Codes: Look up the beep codes for this motherboard in the manual.
- Reseat Everything: Reseat the RAM, GPU, and other components. Try booting it up and see if it was the components not appropriately seated in the slots.
- Basic Configuration Test: Boot the system with only the needed parts to determine which part is not functioning in the whole setup.
- Boot Loop: This is the state that allows booting every time, but it doesn’t actually enable booting into the operating system. It’s more of the cause of hardware conflicts, corrupt BIOS settings, or flawed components.
- Reset BIOS: You can clear the CMOS to reset BIOS settings to default.
- Update BIOS: Hardware requirements may force you to update the BIOS to support the hardware in place.
- Review Hardware Connections: Ensure that your hardware is connected correctly and, when necessary, review each connection one by one.
We at DM WebSoft LLP understand how tricky it is to troubleshoot when it comes to compatibility, power problems, or system instability. Our experts are here to help you with specialist advice and top-of-the-line facilities to ensure a fantastic DIY computer build.
Summary
Building a computer is bound to be a very gratifying project; there are a lot of payoffs, from cost savings to custom components, and learning a lot. This complete guide shall walk you through everything from understanding what the most critical elements are in a computer system and how to put them together to eventually being able to spot troubleshooting for some common issues. You should now have a fully working custom PC designed to your needs.
Key Takeaway
- The Benefits of Building a Custom PC: It saves a ton of money, you get full personalization and it is a great learning and technical skill journey.
- What You Need To Know: What do the CPU, GPU, Motherboard, RAM, Storage, and PSU do, and what is the most central part in making a computer?
- Step-By-Step Guide: A straightforward process ensures that all parts are correctly fixed, and this goes far in guaranteeing that the operation of a complex system flows with ease.
- Cost and Performance: Quite often, creating the computer on your own turns out very economical and practical compared to purchasing already manufactured.
- Troubleshooting: With the knowledge of common problems and how to troubleshoot them, you are guaranteed to always be able to solve a problem effectively.
We at DM WebSoft LLP understand and know how to go about assembling and maintaining a computer. We have so many experts, professionally at your call, to take you through your DIY computer build project for your first or nth number of computer builds—your need for the best-quality components at the most competitive price in the market. Our services range from component selection to advanced troubleshooting and are what you need to sail through the project.
For more details on the intent that DM WebSoft LLP can help your technology project, please visit our website or contact us directly. Let’s help you bring that vision to life through expert advice and professional assistance.
Building your own computer offers cost savings, complete customization, and an educational experience that enhances your understanding of technology.
Essential components include the CPU, GPU, motherboard, RAM, storage (SSD/HDD), power supply unit (PSU), and a case.
Common issues include compatibility problems, power issues, no display, overheating, and POST beeps. Each issue can be resolved with specific troubleshooting steps, such as checking connections and updating BIOS.
Building a computer can be cheaper as it allows you to avoid the markup associated with pre-built systems and invest directly in higher-quality components.
Use tools like PCPartPicker to check compatibility and refer to manufacturer specifications and motherboard manuals to ensure all parts work together.
Get Started Now !
What’s the Process ?
Request a Call
Consultation Meeting
Crafting a Tailored Proposal
Get Started Now !
Real Stories, Real Results. Discover What Our Clients Say

Working with DM WebSoft LLP was a game-changer for our business. Their technical prowess and innovative solutions transformed our online presence. A highly recommended web development agency with a stellar track record.

We are thrilled with the results DM WebSoft LLP delivered. Their deep understanding of web development coupled with years of expertise ensured a seamless and visually stunning website. True professionals!

In a digital age where first impressions matter, DM WebSoft LLP crafted a website that speaks volumes. The team’s attention to detail and commitment to quality set them apart. Thank you for making our vision a reality.

DM WebSoft LLP’s team demonstrated unparalleled expertise. Their ability to navigate complex technical challenges with ease is truly commendable. Choosing them for our web development needs was the best decision.

Exceptional service, unmatched skills! DM WebSoft LLP stands out as a leading web development agency. Their collaborative approach and commitment to excellence make them our go-to partner for all things web-related.

DM WebSoft LLP turned our ideas into a digital masterpiece. The seamless communication and timely delivery of our project showcased their professionalism. Highly impressed with the level of creativity and skill.

Our experience with DM WebSoft LLP was nothing short of amazing. From concept to execution, their team provided top-notch web development services. A reliable partner for businesses looking to elevate their online presence.

DM WebSoft LLP’s team of tech experts is second to none. Their wealth of experience reflects in the quality of their work. Our website not only meets but exceeds industry standards, thanks to their dedication.

Choosing DM WebSoft LLP was the best investment for our web development needs. Their team’s proficiency, coupled with a customer-centric approach, made the entire process smooth and enjoyable. A pleasure to work with!


